In this blog, we will explore the creation of a pipeline to automate the process of generating deployable packages in DevOps. This method of creating deployable packages is not only swift but also time-saving. It eliminates the need to manually build and sync your models, allowing for automated package creation. Furthermore, it sparing you the effort of manually executing each step.
Before we get started make sure that pre-requisite nuGet packages and relevant components are added to your VM from where you want to connect your pipeline for deployable package.
If it is not installed, check it out this blog (Azure DevOps Setup for Deploying Dynamics 365 F&O Package).
Note: The folder paths provided below are according to my environment. Please fill in the folder path according to your setup.
Step-1:
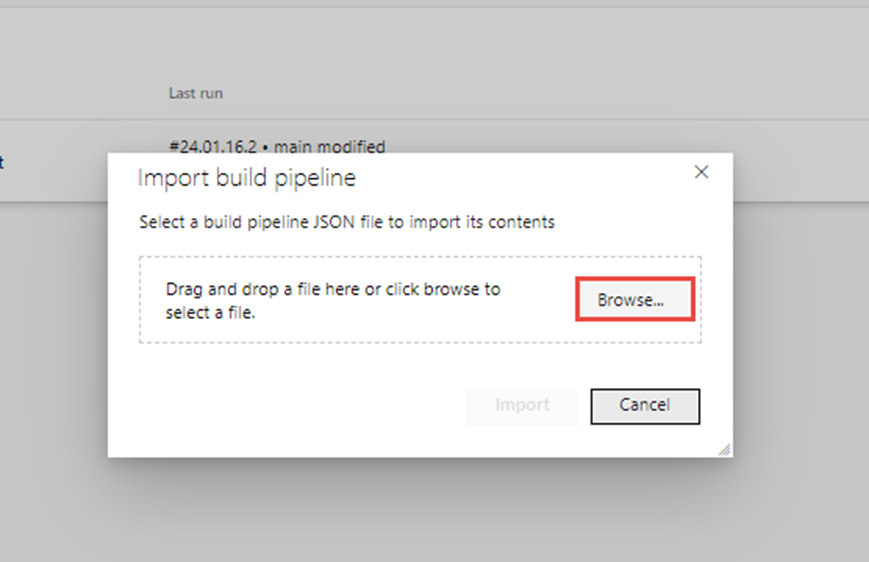
Open DevOps and click on "Pipelines," then select "Import Pipeline" as attached below.
Note: Download pipeline.
Browse the pipeline provided by Microsoft to upload the relevant resources.
After importing the JSON file, it will create resources. Now, you just need to fill in the values highlighted in the screenshots below, according to your project's naming conventions.
Save your pipeline. You can also choose to save and run the pipeline simultaneously, as demonstrated below.


No comments:
Post a Comment